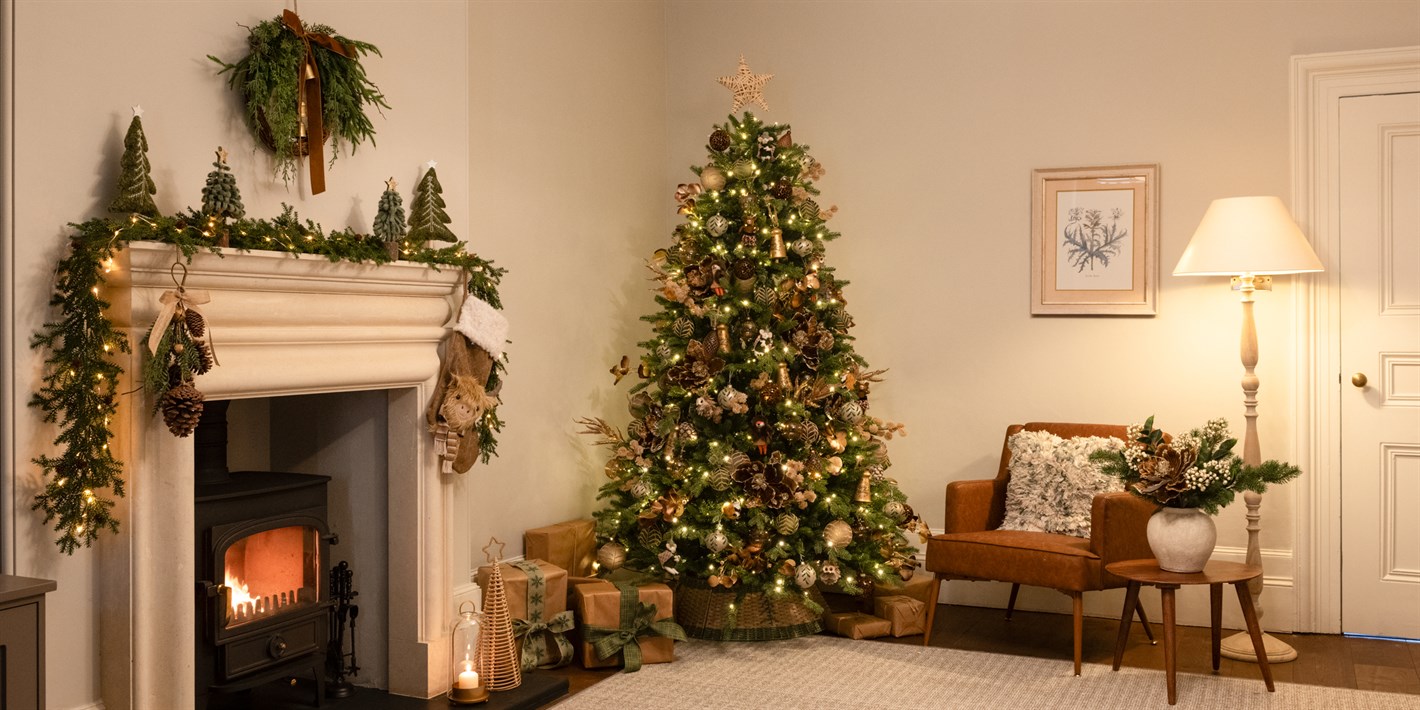
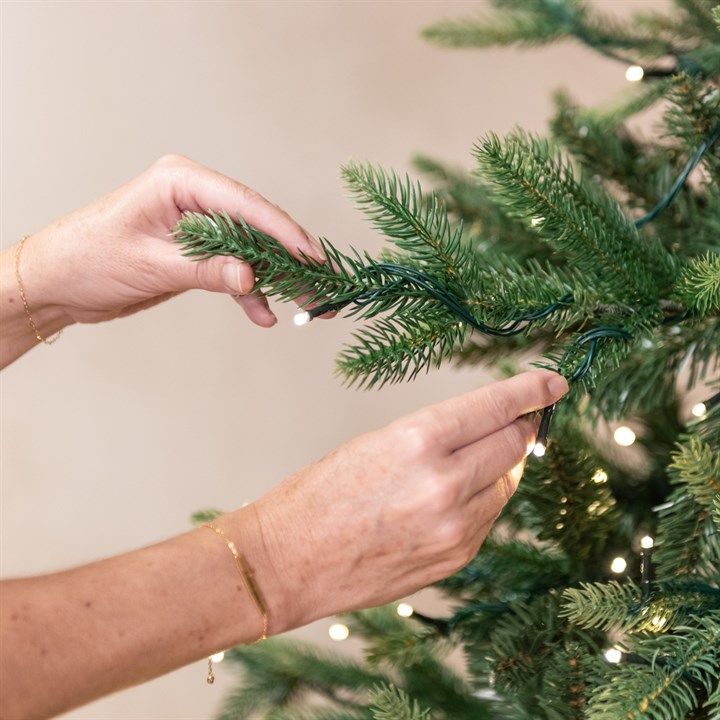
Read our guide on how to assemble your Floralsilk artificial Christmas tree, year after year.
Before You Start
Choose a suitable indoor location for your tree.
Ensure the area is clear and level.
Remove all packaging carefully and keep small parts away from children and pets.
We recommend two people assemble the tree for ease and safety.
No tools are required.
What's Included in the Box:
Tree stand
3 Tree sections including hinged branches
Assembly instructions
For pre-lit trees you may also receive:
spare bulbs and fuses
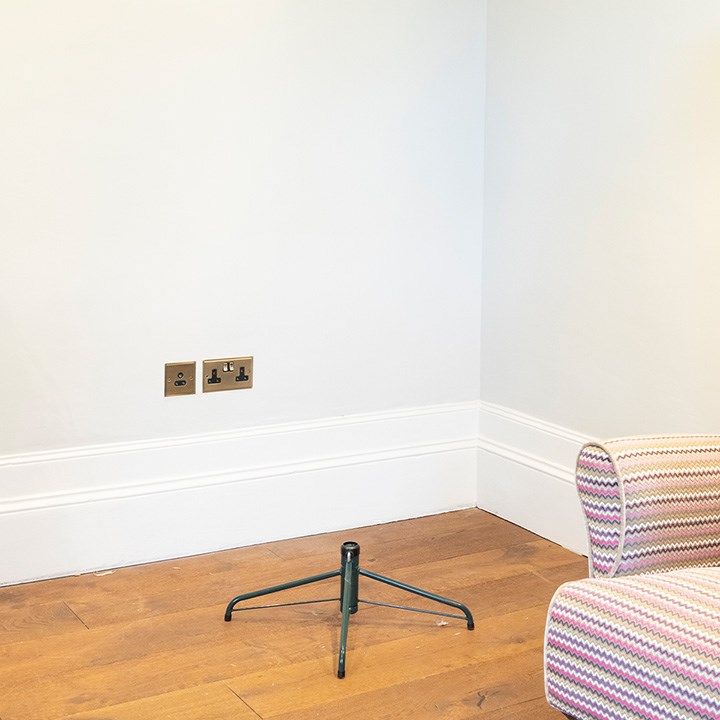
Step 1: Set Up the Tree Stand
Your tree may include one of the following stand types:
Folding Metal Stand
Open the stand until it forms an “X” shape.
Align the holes in the stand with the holes in the legs.
Insert the eyebolt screw but do not tighten until bottom section of your tree is inserted.
Plastic Stand with Insert Legs
Turn the tree base upside down.
Insert each leg into the corresponding slot.
Ensure the legs are firmly secured
Step 2: Insert the Base Tree Section Into Stand
1.Remove any plastic caps from the ends of the tree sections.
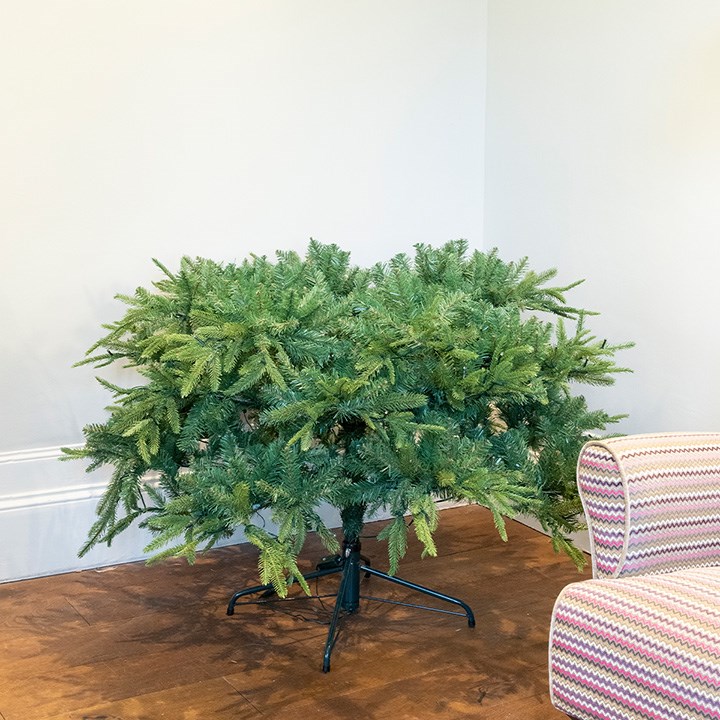
2.Insert the bottom section (the widest section) of the tree into the stand.
3.Ensure the tree is straight & upright before tightening the eyebolt to secure it in place
4.Gently push the branches down into their respective hinges
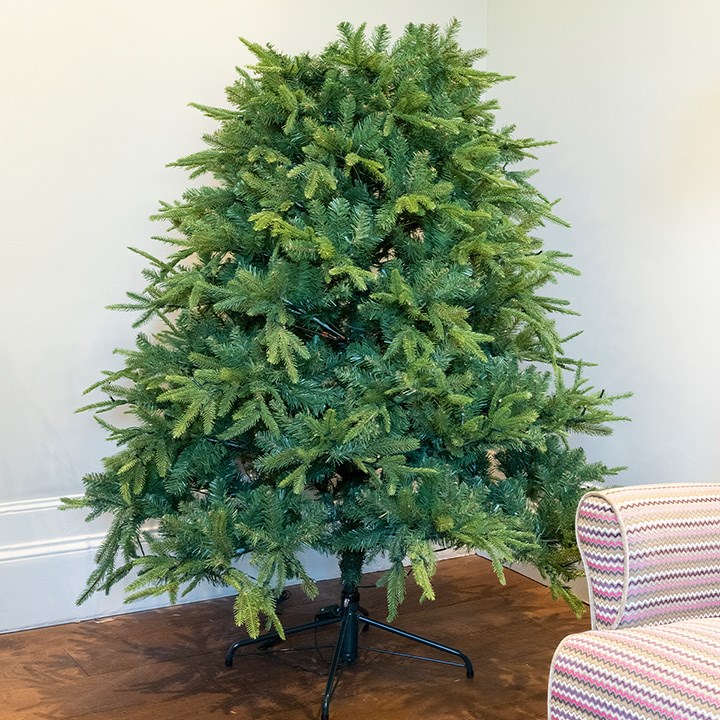
5.Now fluff and shape– gently separate and pull each branch tip away from the main branches
Note: Your tree has been carefully packed with branches compressed for transport. Shaping (or “fluffing”) is the most important step in creating a realistic, full Christmas tree.
Take your time — this is where the magic happens. For a full video tutorial watch our video below.
Tip: Wear gardening gloves to prevent pokes or scratches while adjusting branches.
Step 3: Assemble the Remaining Sections
1.Place the middle section into the bottom section.
2.Repeat for the top section.
3.Check each section is firmly connected. And all branches have lowered into their hinges
Step 4: Connecting Your Tree Lights (Applies to Pre-Lit Trees Only)
1.Once all 3 parts of tree are assembled connect the light plugs and sockets on each tree section
2.Plug the cord leading from the receiver box near the base of the tree into an electrical wall outlet
Step 5: Finish Shaping the Tree
1.Complete the fluffing of the middle and top sections of the tree
2.Separate and spread each branch tip.
3.Work your way upward through each section.
4.Step back occasionally to check for gaps.
For best results check the photo of your tree on our website. Some trees are meant to have upswept or downswept branches, so angle the tips accordingly.
Once your tree is fully shaped – you can begin decorating.
Care & Use
This tree is for indoor use only.
Keep away from heat sources such as heaters, candles or fireplaces.
Check periodically that the tree remains securely attached to the stand.
Do not overload power sockets when using decorative lighting.
Switch off lights when unattended.
Packing & Storage
To store your tree after the festive season:
Remove all decorations and detachable lights (if applicable).
Disassemble the tree from the top section down.
Fold branches upward against the centre pole. Secure with the original bands (if available).
Place all sections back into the box (or storage bag) along with the stand.
Close box and secure tight with tape if necessary.
Store your tree in a cool, dry location until next season.
Safety Information
Indoor decorative use only.
Keep out of reach of small children when assembling.
Small parts may present a choking hazard if detached.